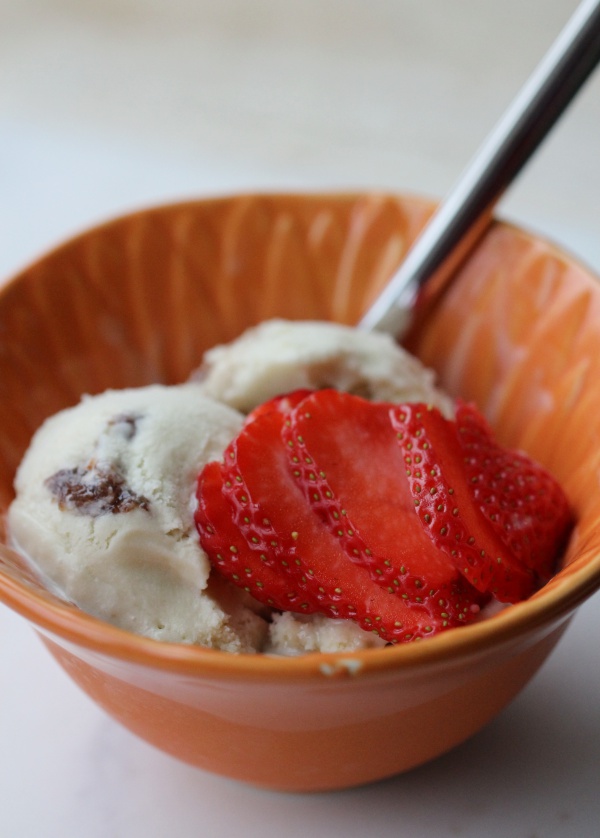
I’m dying for it to really be summer right now. I am fully aware that when we hit our third straight week of sweltering temperatures in July or August, I will be bitching and complaining with the rest of the miserable city folk, but for now I’m tired of grey, overcast rainy weather. So over Memorial Day weekend, when I should have been enjoying the sunshine in the park and eating a lobster roll or something, I made the most summery thing I could think of: ice cream!
We put an ice cream maker on our wedding registry (thanks to my aunt for making that wish come true!), and it has been used in heavy rotation ever since. I always keep the inner bowl in my freezer so that I’m ready to go at a moment’s notice, and we have made some pretty darn awesome batches over the past year. I even picked up a few of these reusable ice cream tubs for storage purposes — they hold 1.5 quarts of ice cream and stack neatly in the freezer! You could also wash out plastic ice cream containers and reuse them (Talenti has nice ones, and their gelato is fantastic!).
But back to the flavor of the day: Coconut Strawberry! The great thing about this flavor (other than the taste, which is obviously delish!), is that the base is SUPER easy to make. Unlike traditional ice cream, which I like to make with egg yolks, there’s no heating involved and there are just FOUR ingredients. Yup, it’s that easy. And as a bonus, it’s dairy-free if you care about those things.
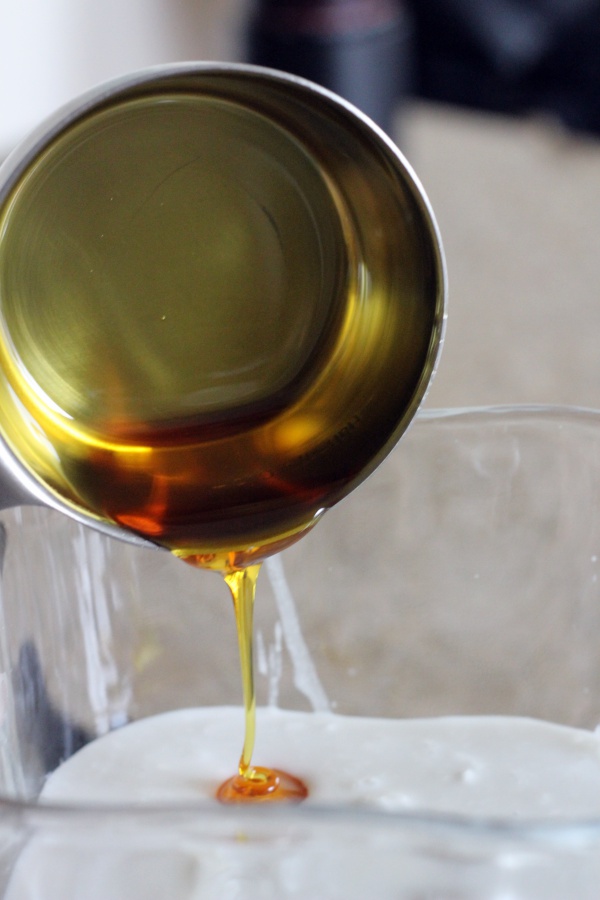
The secret here is to combine your FULL-FAT (important — don’t be skimping out on the fat in ice cream!!) coconut milk, honey and vanilla extract in a blender. Whir it up to get the whole thing silky smooth, cool it down (takes MUCH less time than cooling down a hot custard base!) and churn.
A note about making ice cream, since this always drives me crazy in ice cream recipes. It has to do with that obnoxious step right after you make your beautiful ice cream base: churn according to directions on your ice cream maker. This drives me completely bonkers. HOW does my ice cream maker know when my ice cream is done!? (Spoiler: it doesn’t) Could we be any more vague?
Let me break this down for you: the last thing you want to do is over or under-churn your ice cream. It’s just sad to go through the steps of making a tasty ice cream base only to completely botch the texture in your machine. My ice cream maker defaults to a 25-minute churn cycle, which I can adjust as needed.
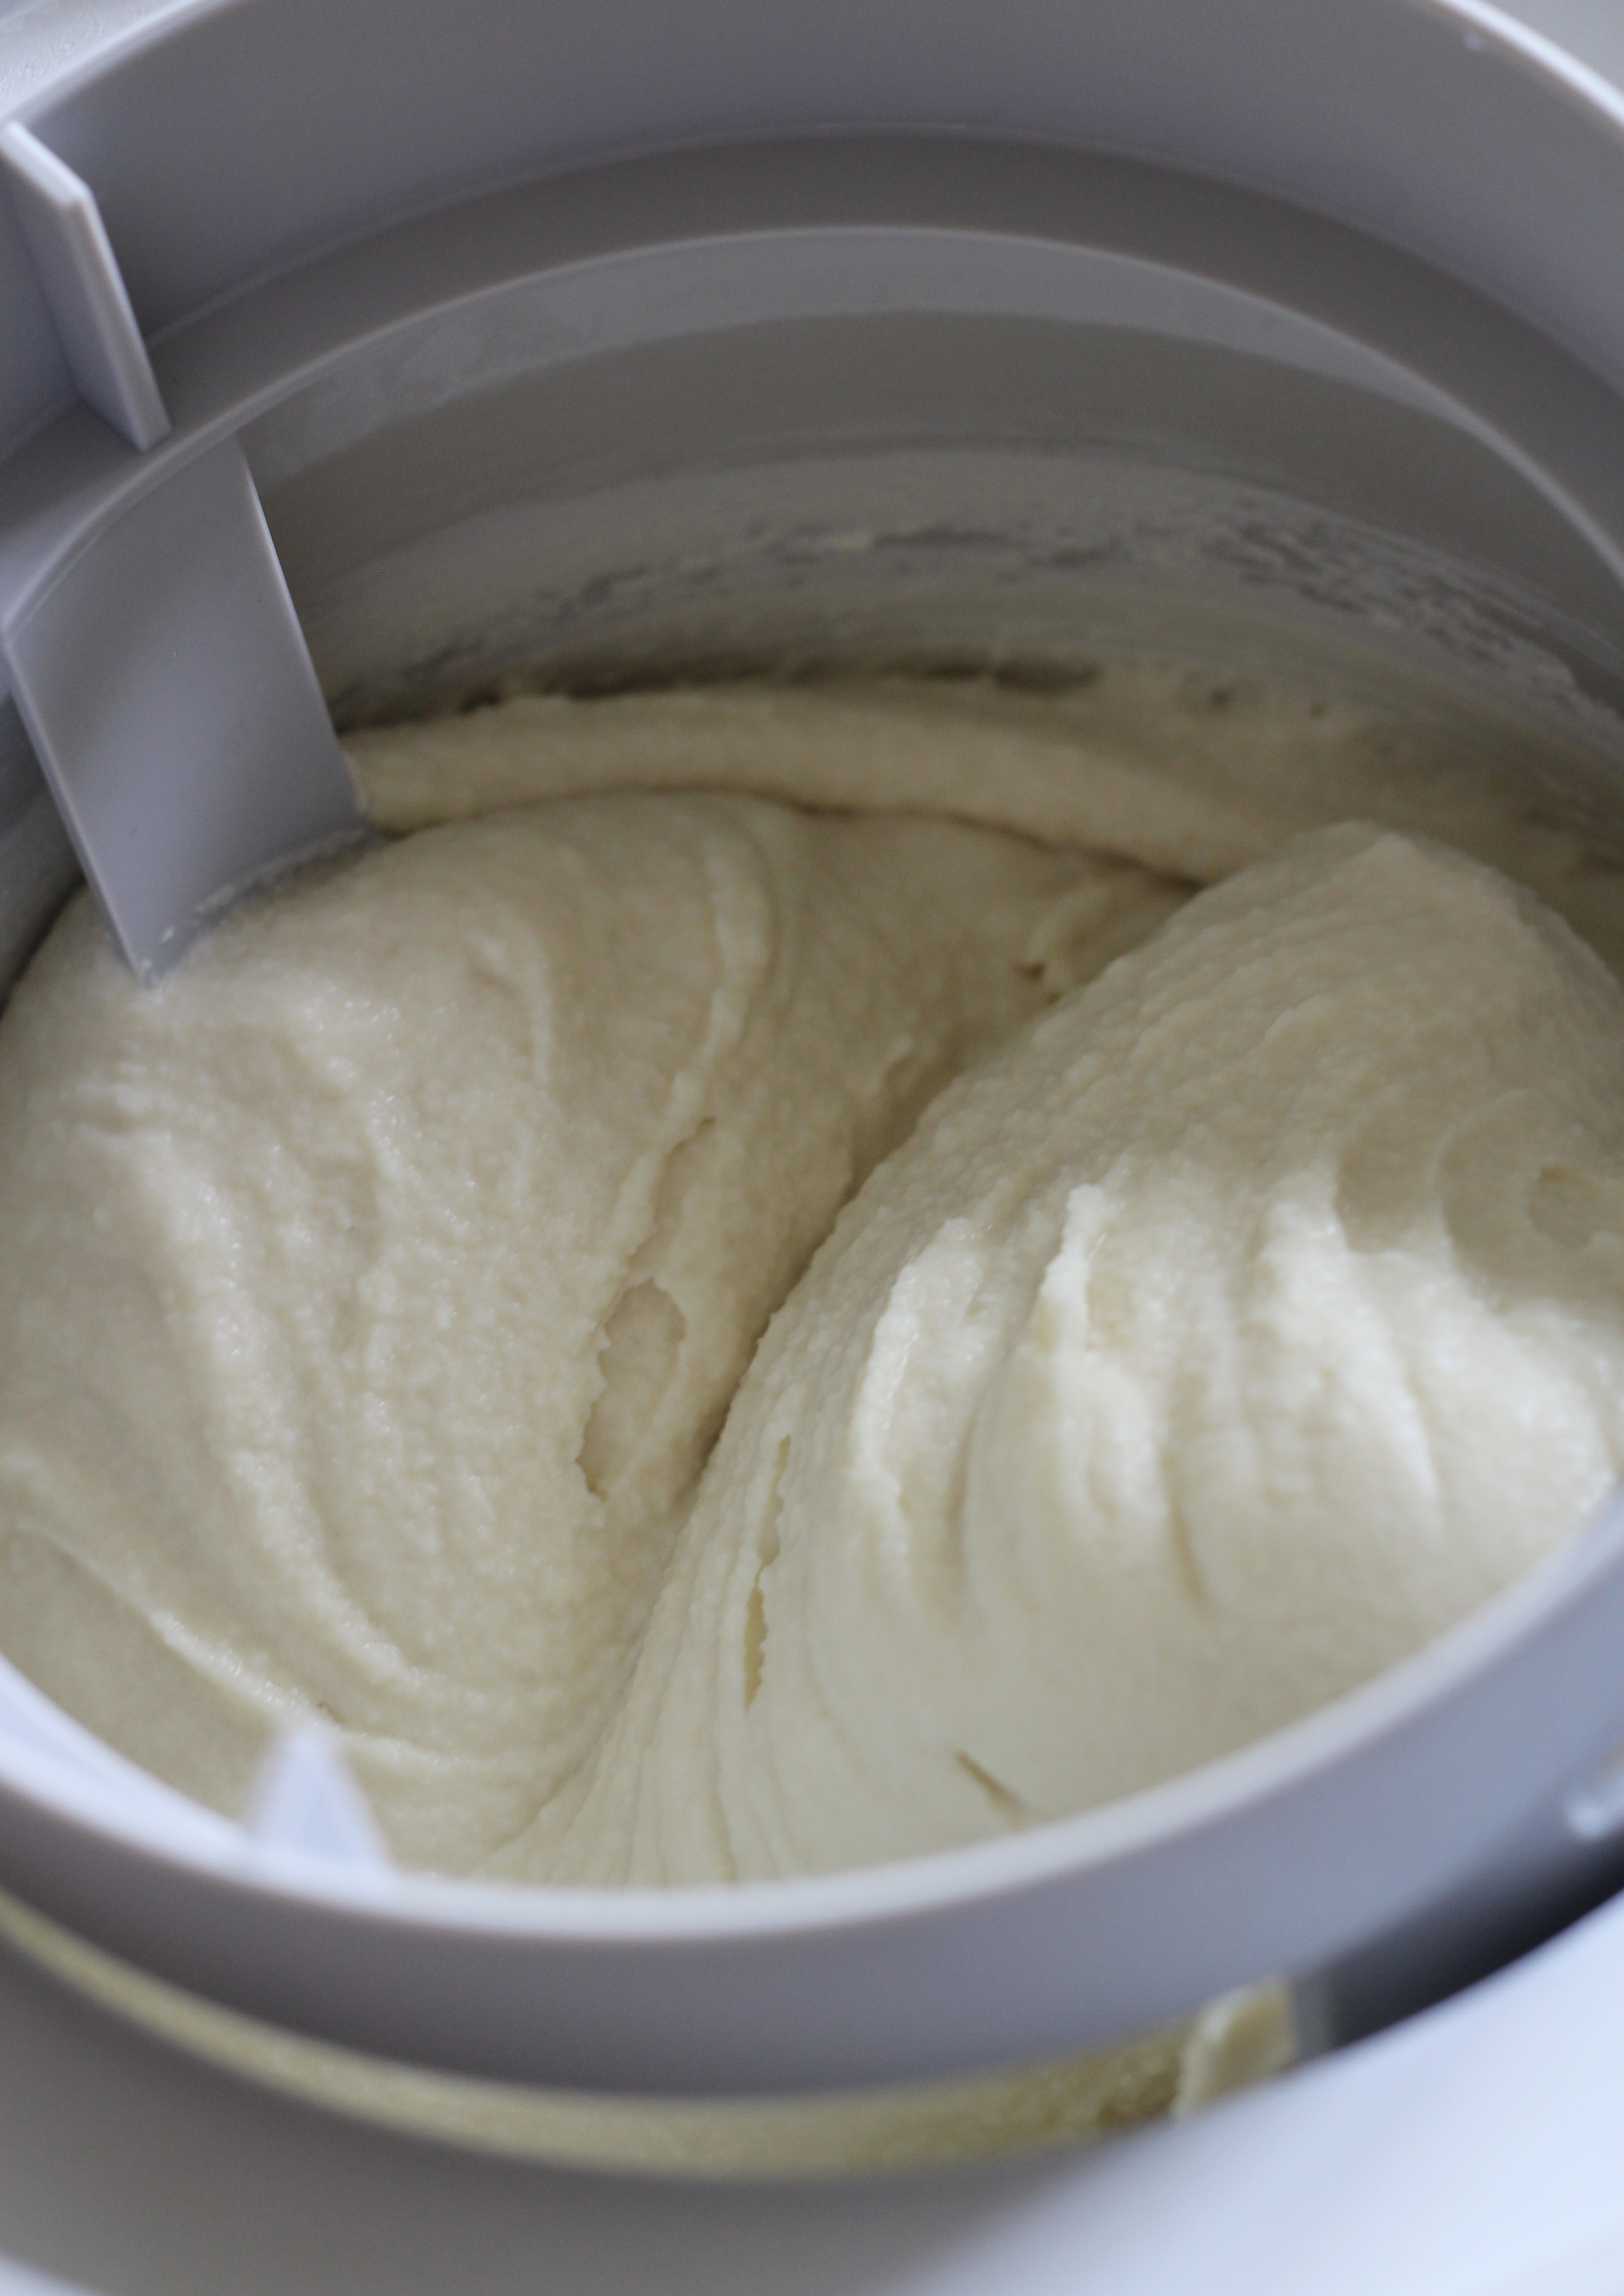
For this particular recipe, 25 minutes was right on the money; for other types of ice cream, it has not been. My advice is to keep an eye on your ice cream throughout the churning process. You are looking for a “stiff peak” situation, like you would look for in a meringue. You want the ice cream to hold its shape, but you are looking for a consistency more like soft serve — don’t forget that we’re going to freeze it further after we churn, so you DON’T want it looking like finished ice cream when you take it out of that machine. If that’s the case, you have probably churned a little too far and might have collected some ice crystals along the way, which aren’t the end of the world but they will mess with your texture.
At the end of the day, you’re going to have ice cream either way! Which is a good thing. So I’ll just be over here, eating my ice cream, until the summer weather finally decides to grace us with its presence and I can start complaining about how damn hot it is again…
Coconut Strawberry Ice Cream
Makes about 1.5 quarts
Ingredients
2 15oz. cans of FULL-FAT coconut milk
1/2 c. high-quality honey (I used a nice Turkish honey)
1 Tbsp. vanilla extract
1 c. strawberry jam
Instructions
Combine the coconut milk, honey and vanilla extract in a blender. Blend on medium speed to combine and smooth out any of the chunkiness of the coconut milk, about two minutes.
Chill ice cream base in the refrigerator until cold, about 1-2 hours.
Using a countertop ice cream appliance, churn the chilled base for about 25 minutes. Keep an eye on the ice cream throughout the process — you are looking for a thickened base that holds its shape without the ice cream getting too dense/collecting ice crystals.
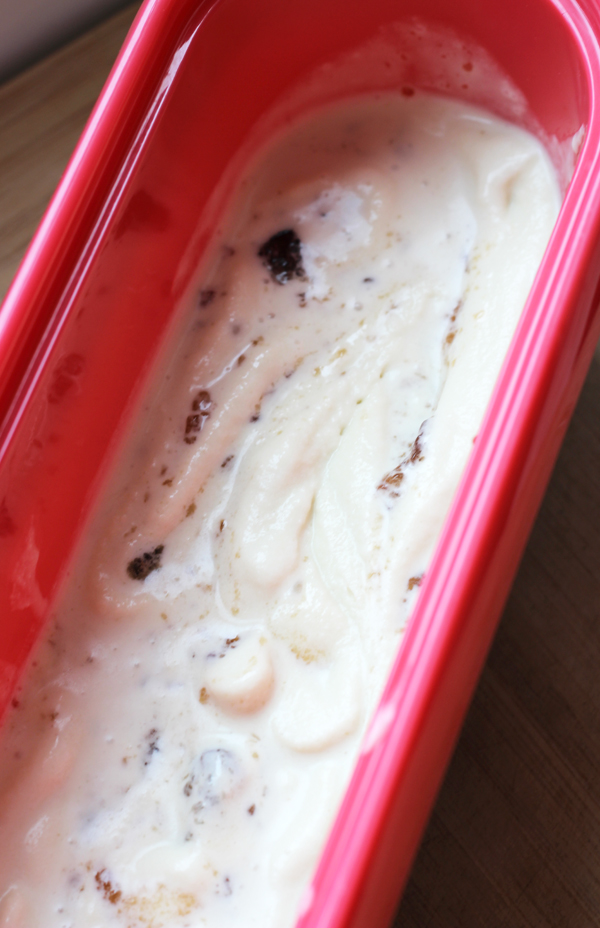
When finished churning, scoop about 1/2 of the ice cream into a container. Dollop about 1/2 of the strawberry jam on top and use a butter knife to swirl the jam throughout. Scoop the rest of the ice cream on top, dollop with the remaining jam and swirl again. Smooth the top of the ice cream evenly.
Store in the freezer for at least 5 hours before serving. Enjoy!
Comments